Mixing Sound for Film – Audio Post Production, An Overview
So you’re going to mix sound for film for the first time. You have been an audio engineer for a while. You have spent the years building up your skills, and you love movies! You think to yourself “mixing sound for film seems like a perfect fit”. If those previous statements are true, then it probably is a perfect fit, but there are a few differences between audio post production for film and mixing a record for commercial release.
The Basics You Should Know Before You Start.
If you have worked with other people on projects like this before, you may know most or all of the things I will cover in this article, but if you are setting out on your own for the first time, these are the key points which I found incredibly helpful to know.
Depending on the experience of the director, producer, picture editor, and most definitely the “on location” sound person, your job can vary a bit in its scope. Just know this, mixing music for bands is going to seem a lot easier after you get done mixing sound for film.
Project Timeline (Scoping)
You’ve been mixing three to five minute songs for most of your career, and you know how many hours can go into tracking and mixing a fully polished song. How in the world are you going to scope out how long it will take to mix a whole movie? I should warn you here, you are most likely going to be doing a lot more than just mixing. Think dialog clean up, audio restoration, Foley and sound effect design, as well as automated dialog replacement or ADR work.
Most small budget indie films run around the 30 minute mark, so we will use that as a measure to base your estimate on. I just finished mixing audio and all the other post production elements for a 38 minute film. I put 150 hours into that project, and that was rushing it. There was so much more that I would have loved to have done for the audio mix, but we were on a serious deadline. I think that film could have benefited from another 150 hours of work, but we didn’t have that amount of time.
I would scope out a post production project in this way:
For a 30 minute film you will put in between 150 and 300 hours of work depending on the quality of the audio you are given. This particular film I was working on had MAJOR audio problems, so if you are handed pristine quality audio to work with, you may be able to cut that timeline down to perhaps 100-120 hours. Better to give yourself the buffer though. Always under promise and over deliver. If your film is an hour in length, just double the time to 300-600 hours. Now of course this is for pushing-it-through, low-budget films. If your director has the budget, the vision, and the desire, you may end up working for much longer. Keep in mind that Star Wars spent a whole year on audio post production. If you want that level of quality, it will take that amount of time.
Remind your director and producer in the beginning of the project that they can “have it quick, have it cheap, or have it done right. Pick only two”.
What Format?
Be sure to tell your picture editor what file formats you will need. Most likely .mov for picture lock, and an OMF or AAF session export from their editing software. If you can import an OMF or AAF file into your DAW this will save you from having to checkerboard the dialog yourself, and save a ton of time.
There is a great session format translator that can help to convert many editing session formats into compatible formats for many DAWs called AATranslator. They have a list of what formats they support, and they are very responsive if you have questions. Generally Pro Tools will import OMF and AAF files from Avid Media Composer (AMC) really well, and Logic Pro will take imports from Final Cut, and some from AMC. If your editor works in AMC and you don’t have Pro Tools, you can do either one of two things. One, get them to export from AMC into Pro Tools, and then export an OMF or AAF file from that: Or two, buy a copy of Pro Tools, or just download the demo, and either mix the project in that, or use it as a translator to export the OMF or AAF to the DAW of your choice. Logic Pro will reliably accept an OMF non embedded file from Pro Tools, and will sometimes accept and AAF.
It is not the end of the world if you can’t take a session export though. Your alternate option is to get the picture lock, and an export of the audio in a stereo file at the rate and bit depth you will be working, and off you go in the DAW of your choice.
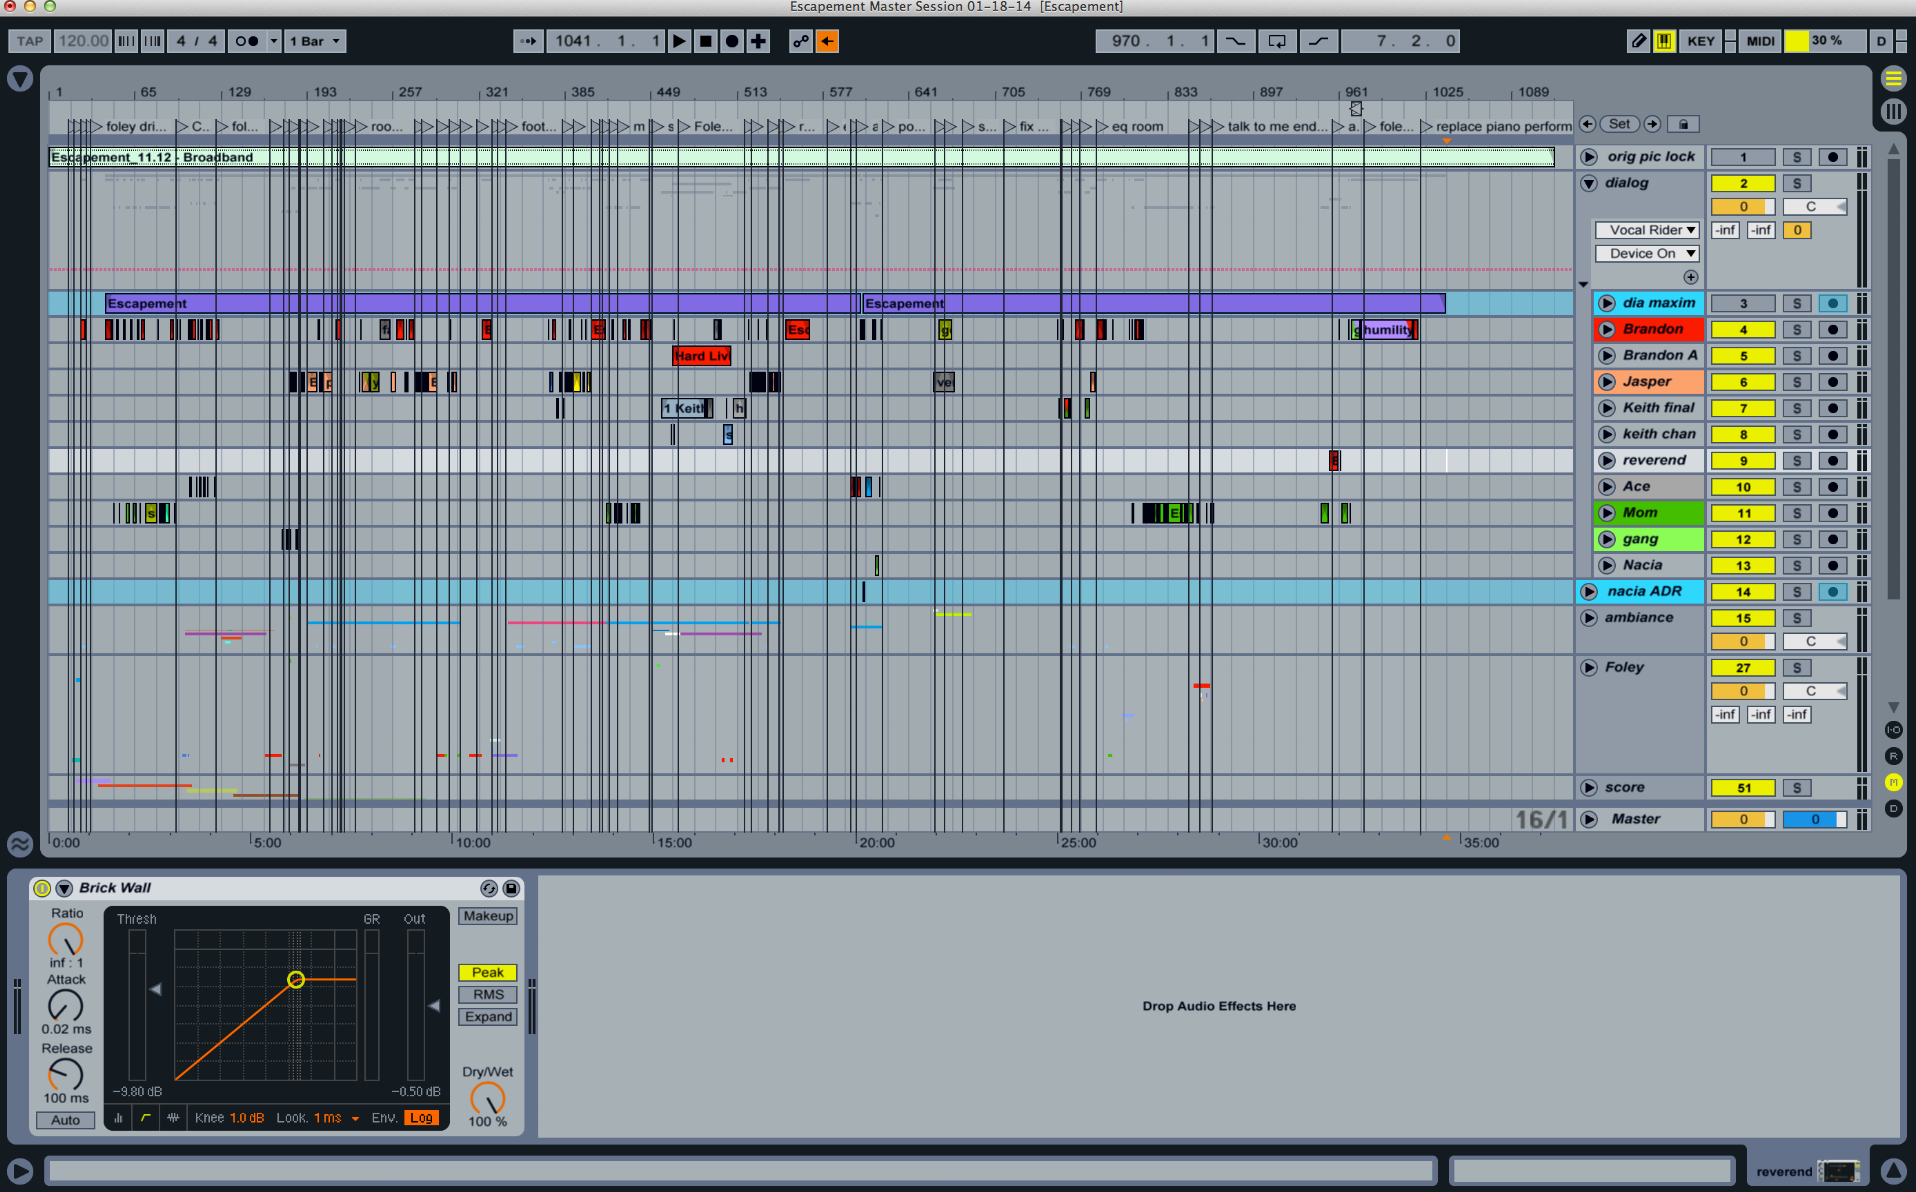
Pro Tools, Logic Pro, Nuendo, are definitely good DAW’s to do post production in. I do most of my post production work in pro tools these days, but I have done a lot of work in Logic Pro, and one movie in Ableton Live. Ableton Live is powerful enough to do the work, and the tools are just fine, but Ableton does not support the OMF and AAF file format, so you will be stuck with manually importing the audio and checkerboarding it yourself. This can be 10 hours of work on a 30-40 minute film.
Stereo or 5.1 Surround?
One of the first things to establish is, what does the director or producer expect as a final output? Many low budget indie films are only looking for a stereo mix, but the mid to upper level indies that are really going for the film festivals may want a 5.1 surround mix. Make sure you ask the director and or producer up front what they are looking for and discuss the differences in budget for each. Getting set up for, or renting time in a 5.1 mix room is going to run a little more expensive, and they need to know this. If you already have a 5.1 surround sound mixing room, I would guess you probably already know most of everything I am going to cover in this article, so you can skim through and congratulate yourself on what you have learned as an audio engineer. Perhaps you might even like to share some of your experiences with us in the comments section. For the most part I will focus on what it will take for the first timers to get up to speed on a stereo audio mix for film.
Sample Rate and Bit Depth
Find out from your picture editor what sample rate and bit depth they would like the files in for your final export. Generally 48kbps sample rate with a 24 bit depth will be fine, and perhaps the highest that their system can handle. Some can handle a higher sample rate, but not many can handle 32 bit depth. Also find out if they want .aif or .wav or some other session format.
Get a Good Loudness Meter

iZotope Insight
This is more important than you think it is, unless you already know all about broadcast standards, and then it is exactly as important as you suspect. As recording and mixing engineers for albums and singles most of our dealings with mixing and “loudness” is “how loud can you make this track without clipping or squashing it too much”. Every band wants their song to be as loud or louder than everyone else’s. There is much that we could discuss about the “loudness wars” but plenty of other people have already written tons of valuable information on that already.
Broadcast Standards
 In the case of mixing sound for film or television there are very specific standards that have been established, and passed into law. Cinema, and DVD can be a little more lax than television, but it has been my experience that mixing film audio to the BS 1770-3 a.k.a. A85 standards established by the CALM act works out very well. This kind of tool can guide you during mixing and help you arrive at a balanced smooth sounding mix that won’t blow up anybody’s speakers. You can always mix to the broadcast standards, and then if your client wants it louder make some easy adjustments from there.
Before we get too deep into this I want to share one little tidbit of info. In case you don’t know it yet, 1db equals 1LU or loudness unit. All the loudness meters measure in LU, so this is handy to know.
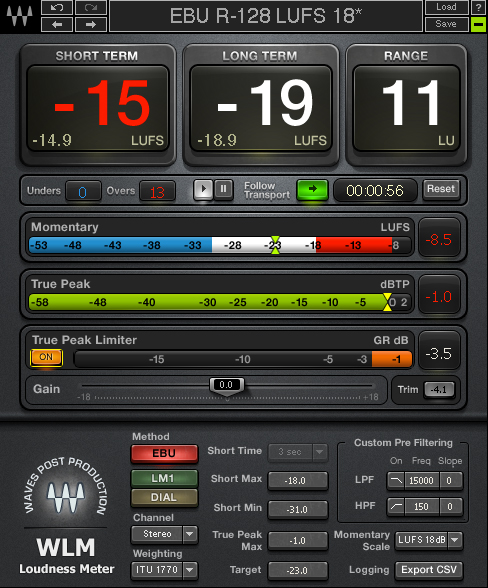
I suggest that you do a little research on loudness meters and pick the one that you think will work best with your style. Waves has WLM Plus, Dolby has one, TC Electronics has one, and iZotope has the Insight Metering Suite.
I use both the Insight Metering Suite and Waves WLM Plus because they speed up my workflow, give me easy readouts of all the information I want, and have a reputation of being even more accurate than the Dolby meters. I also have had excellent experience with other iZotope and Waves software, so I trust them to deliver a top of the line industry tool.
The beauty of using a loudness meter like Insight or WLM Plus is that it has all the presets with the standards worked out for you. If you are mixing for the USA it has those, if you are mixing for the UK or Japan, it has those. If your market’s standards are not represented you can make your own preset. I’m in the USA so I chose the simple US meter preset. This gives you a max peak of -2db, a program average target of -24LU and a dynamic range target of 14LU.
There are a ton of features on the different meters, but that is for another article. Basically, they shows you your targets, and gives you clear readouts of overs and unders, and where you need to go back and refine. A good loudness meter will make your life easy and remove any worry you have of getting your program mix rejected for peaks over the broadcast standards.
Calibrate Your Control Room

SPL meter
What does this mean, and how do I do this? What we mean in this case is to set the actual listening volume in your control room to a standard that will respond to the dynamic range of a mix in a similar fashion to your target venue. In this case a theater environment. There are different calibration settings for different purposes. Here we will describe a calibration that works for the mid to small sized control rooms, and specifically for mixing film and broadcast material.
How you do this is actually way more simple than it sounds.
- Get a full frequency spectrum pink noise .wav file. (Right click to download this pinknoise file).
- Drop this file into a free track in your DAW, and set your session to loop this file.
- Hopefully you have already gotten a hold of a loudness metering solution like Waves WLM Plus or Izotope Insight. If not, get it now. The reason to use this instead of the regular meters in your DAW is that these dedicated meters are far more accurate.
- Adjust the volume of your pink noise track while watching your loudness meter. Set your pink noise to have a max peak of -20db.
- Now set up an SPL meter in your listening position with the mic at what would be your ear level. Many SPL meters can be attached to a camera tripod for easy positioning. Set the mode to “slow”, select the readout “high”, and db mode “C”
- While the pink noise that you set to -20db is playing, slowly adjust the volume control of your reference monitors. Bring the volume up until your SPL meter is reading 79db. Mark this position on your volume knob or fader. Now slowly bring the volume up to 85db, and mark this position as well. In mid to small rooms do this with both monitors at once. In larger rooms you would do each speaker individually.
Congratulations you have just calibrated your control room for mixing a film!
Many in the industry suggest mixing sound for film at 85dB, but in the smaller room environments this can be too loud, causing ear fatigue and other issues. I suggest mixing at 79dB, and when you think you are done, do one or two passes through at 85dB to double check. This should give you a fairly accurate listening environment without the ear fatigue. In larger rooms you may be able to mix at the 85dB level, and in really big rooms you would calibrate each speaker individually. Now when you listen through the program if elements are too loud bring them down, too quiet bring them up. Trust your ears.
Make Sure That You Get The Final, Final, and I Mean FINAL Picture Lock to Work With!
Save yourself from nightmares and pulling out your hair by making it clear to the director and editor and anyone else that needs to know, that the file they give you MUST be the final edit of the film. The final picture lock. Do not begin work on the audio until you have assurances from all parties that this is it. As a matter of fact I would make sure to have that in your contract. If you get halfway through the audio work for the film and suddenly the director or editor tells you they are just going to cut a scene or two, you are going to be in a world of hurt trying to go back through and realign all the audio you have worked on with the new picture lock. Needless to say this will add tons of hours to the project, and mean that you will most likely not make any deadlines you set.
If the editor can supply you with a new OMF or AAF export then the most you will lose is the naming and organization of your tracks, It will still take time to re-import any audio that you have significantly altered. It can be done, but is a pain in the neck and racks up hours really fast.
Now the Actual Audio Post Production Work & Workflow
You may have thought that mixing audio for film was just that, mixing. You thought the editor would give you a perfect dialog track, the music director would hand you all the soundtrack songs, and the composer will drop the most perfectly emotional score into your lap. For the major Hollywood films, or a really professional production company you might get that lucky. And for the most part you shouldn’t have to worry about the composer and music director. They should really be the producer’s and director’s problem, and if they chose the right team members, everything will go smooth. The dialog is where you are going to spend a ton of time.
If your picture editor is experienced and good at audio restoration you may actually get a dialog track with good levels, and already cleaned up. There is a good chance though that you are going to be left with the job of restoring the audio quality of the dialog track. Here is a short list of the tasks you will undertake, and the order they should fall in:
Importing Session Files
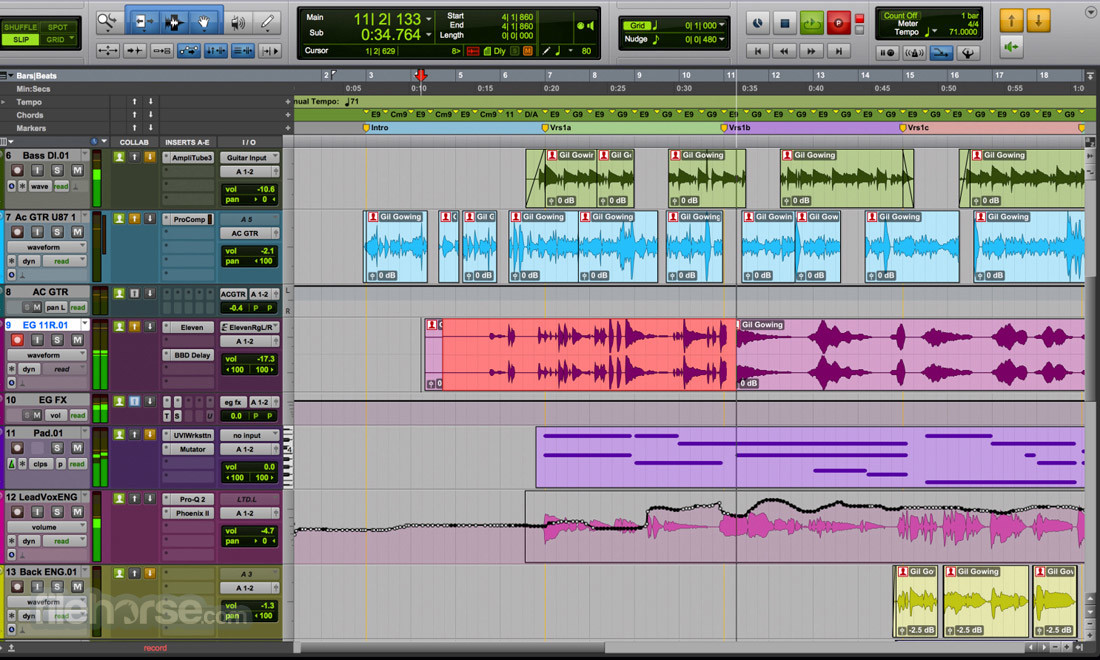
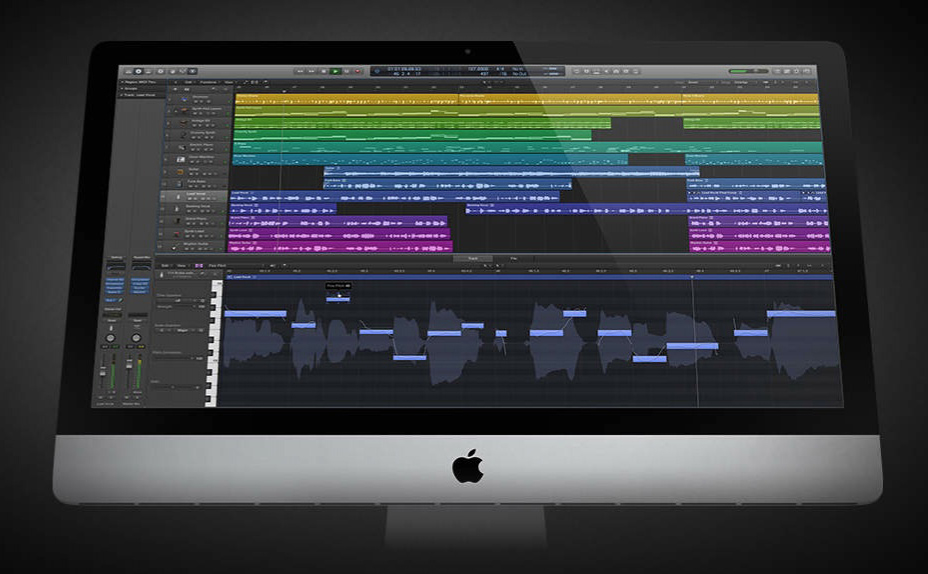 Most likely your picture editor is going to want to send you an OMF or AAF session file with all the audio data. I have worked in three different DAW’s for post production, Ableton Live, Logic Pro, and Pro Tools, and unfortunately only one of the three imports the OMF and AAF files properly…. Pro Tools. Logic is super close. It imports the tracks and the automation, but not the track names, and that can be super frustrating when you have a large session to work on. Ableton Live doesn’t accept these files at all. Pro Tools shows it’s strength in this area. You import the AAF and there you are with all your tracks laid out with the proper names, and all the automation. This can save you a bunch of time.
 If the price tag on Pro Tools is too steep, Logic would be my second choice for audio post production, but you will have some cleanup and organizing to do before you really get to start working. Another weakness with Logic is that if you have to insert frames because the director or editor decided to make changes to the picture lock, Logic can be a little finicky with the way it handles the frame count and insertion. For better or worse this is another area where Pro Tools excels. Just type in the frame numbers and you are good to go when working with spotting in Pro Tools.
Checkerboard your dialog
 If you weren’t able to import an OMF or AAF, or you have more than one character’s dialog on one track you will want to separate each character. Cut your dialog up pretty much line by line so that you will have an audio track for each character that can be eq’d, compressed and effected independently.
Normalize your dialog
Level out all the dialog so it falls within the target range of -11db to -10db. This is a rough guide point, quiet sections may fall a tiny bit below this to -11.5db, but I suggest not going above -10db for your max dialog peak. Measure this with the dialog solo’d. I tend to group all of the dialog tracks to a bus for control of all of them in case I need it, this can be handy to use as a side chaining source key for tastefully compressing background music.
Audio restoration
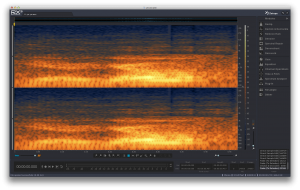
iZotope RX Advanced
Once you have normalized all your dialog to that -11db to -10db range, you will most likely find a lot of undesirable background noise. This will vary from generic noise floor hiss, to crew talking in the background, or crew dropping things in the middle of a scene, or crew footsteps in the background during quiet scenes, or large motor vehicles driving by, or planes flying over head, generators or air conditioners kicking on, or even the mic cable not being taped to the boom and rattling against it… I think you get the picture. There is going to be a ton of stuff that you don’t want in your final mix. It is now your job to remove and clean up all this unwanted noise. Some of this you can do with careful gating and EQ, but if you are dealing with this level of clean up I strongly suggest getting a tool specifically made for this job. My favorite is iZotope RX Advanced. You can get the RX regular version, but if you are deep into restoration you are really going to want the advanced version. I wrote a review of it here. This software can make your life much much easier by quickly allowing you to edit out unwanted sound from dialog tracks.
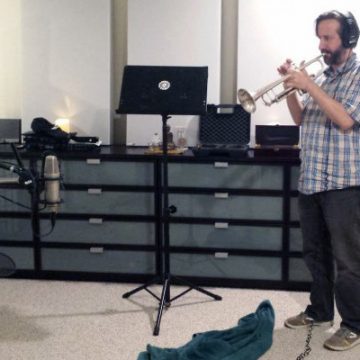
ADR or Looping
After all your restoration work you may encounter some dialog that is just irreparable and completely unusable. You will have to get the actors into the studio to re-record their lines. This is called ADR (Automatic Dialog Replacement) or looping. This is a trick in itself as you need the new dialog to sync up with the lip movements on screen. I will write more about the process of ADR at a later date, but in summary, you will need a quiet studio, preferably a larger room to record in, a screen for the actor to watch the scenes on, and preferably a screen with the wave files visible to them as well.
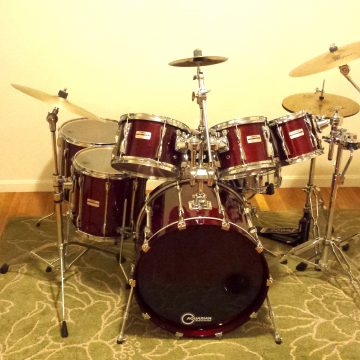
Foley and sound design
Now that you have fixed all the problems with your dialog tracks, you can reward yourself by doing some Foley and sound design work. Make those fight scenes really grab your attention, add footsteps, doors closing, car and other vehicle sounds. Have fun in this section. You can record a lot or all of this yourself, or you can search for sound libraries on Google.
I would suggest that your max peak for your loudest effects be around -5db for the loudest stuff like explosions and gunshots, but mix to your preference.
And finally, mixing
Your dialog and sound effects are in place, soundtrack songs have been delivered, and your score has been dropped into the proper timeline, now you polish. I will talk about the levels to hit in the Mix Targets section below.
That is the basic run down of the task you are about to undertake.
Audio Mix Level Targets
One of the most popular questions that I see when people are getting into mixing sound for film is; “What should my levels be?”. One test you can do to answer the question for yourself, or to validate the answer I provide here is to pull a .mov or .mp4 version of a Hollywood large budget movie into your DAW and watch your loudness meters as the movie plays. You can see the levels where the dialog sits at, the music, and the sound effects.
Here is what I learned from that experience summarized in one easily digestible chunk. All levels dBFS peak.
- Max peak: -2db (This was absolute on everything that I tested probably because of BS1770-3/A85)
- Loud sound effects (explosions, gunshots): -3db to -2db
- Louder soundtrack or score music not competing with dialog max: -5db to -4db
- Dialog level: -11.5db to -10db
Use these as reference points. Start with getting your dialog levels first, and then build everything else around that. These are not hard rules (aside from the max peak of -2db) but a foundation on which to build your audio mix. I found this to work consistently well for me, and puts me right in the ball park to be compliant with the broadcast standards established by the CALM act (BS1770-3/A85).
I wrote this article because I kept seeing people ask the same questions I was asking before I mixed my first film, and I remember the hours and headaches of searching across many blogs and articles trying to find this information. I have attempted to compile into one location all the basics that you need to know to get started, and hopefully have answered many of the questions that were nagging in the back of your mind. I hope I have been helpful.
If I have left anything out, or got anything wrong, please leave a comment, add to our knowledge, or ask for more detail. Have fun and mix well.
If you are a film maker and have been reading this article to figure out how to plan for audio post production feel free to contact me with any questions you may have.
If you are looking for a sound mixer or sound designer, send me the details of your project and I will get back to you with a price quote. Take a look at my Audio Post Production services page for ideas on what questions I will be asking to give you an accurate quote.